
The smell of cinnamon and butter drifting through camp smoke—that’s the moment a good trip becomes unforgettable. A fresh apple, sliced and sizzling in a cast iron skillet, is one of the simplest pleasures you can create at a campsite. No oven, no fuss, just a handful of ingredients and a fire.

Why Fresh Apples Belong in Your Camp Kitchen
Fresh apples are a camper’s best friend. They travel well, don’t bruise as easily as berries, and need no refrigeration for the first few days. But the real magic happens when you cook them. Heat coaxes out natural sugars and softens the fruit into a tender, saucy dessert that feels like a luxury in the backcountry.
Most camp desserts rely on packaged mixes or heavy canned fillings. This fresh apple approach skips all that. You get real fruit, real flavor, and complete control over sweetness. Plus, it’s naturally gluten-free if you swap the flour in the topping for almond flour.
Choosing and Prepping Apples at Camp
Pick apples that are firm and hold their shape. Granny Smith, Honeycrisp, or Braeburn are ideal. Avoid mealy or overly soft varieties—they’ll turn to mush before they caramelize.
Prep is straightforward. At the campsite, wash the apples, then peel them if you prefer a smoother texture (I leave the peel on for extra fiber and color). Core each apple with a pocket knife or a lightweight corer, then slice into 1/2-inch wedges. Keep slices uniform so they cook evenly. A common mistake is slicing too thin—they’ll burn before they soften. Too thick, and they stay crunchy in the center.
The Skillet Setup: Fire vs. Stove
A cast iron skillet is non-negotiable here. Its even heat distribution prevents hot spots that scorch sugar. If you’re cooking over an open campfire, rake hot coals to the side and place the skillet directly on them—never over a roaring flame. The coals provide steady, moderate heat. For a camp stove, set the burner to medium-low and adjust as needed.
Weather note: On a windy day, shield the skillet with a windbreak (a piece of foil or a rock barrier). Wind steals heat and makes cooking uneven. In cold weather, expect slightly longer cook times—add 2-3 minutes per stage.
Cooking the Apples: Technique Over Timing
Melt butter in the skillet first. It should foam gently, not brown aggressively. Add the apple slices, brown sugar, and cinnamon. Stir to coat every piece. Then let them cook undisturbed for 3 minutes—this builds a caramelized crust. Stir again, and repeat. After 8-10 minutes, the apples should be tender when pierced with a fork but still holding their shape.
If the mixture looks dry, add a splash of water or apple juice. If it’s too wet, cook uncovered for an extra minute to let steam escape. Trust your senses, not a timer.
The Oat Crumble Trick
Here’s the tip you won’t find on other sites: make the oat crumble in a separate bowl while the apples cook, then add it directly to the skillet for the last 5 minutes. This keeps the topping crunchy instead of steaming into a paste. Most recipes mix the crumble in at the start—that’s a mistake. The oats absorb moisture and lose their texture.
For the crumble, combine rolled oats and flour. Cut cold butter into the mixture with your fingers until it looks like coarse sand. Sprinkle it over the hot apples, cover the skillet, and let it steam-bake for 5 minutes. The result: a golden, crunchy topping that contrasts beautifully with the soft apples.
Serving and Storing
Serve straight from the skillet—fewer dishes, more rustic charm. A drizzle of maple syrup or a dollop of yogurt (if you brought a cooler) takes it over the top. This fresh apple dessert is also excellent for breakfast the next morning, spooned over oatmeal or pancakes.
Leftovers? Store in a sealed container. Reheat gently in the same skillet over low heat, adding a splash of water to loosen the sauce. The topping won’t be as crunchy the second day, but the flavor deepens overnight.
Safety Note for Camp Cooking
Always cook apples in a well-ventilated area—never inside a tent. Carbon monoxide from camp stoves or coals is invisible and deadly. Keep a fire extinguisher or water bucket nearby when cooking over an open flame. And remember: hot cast iron handles look identical to cool ones. Wrap the handle with a cloth or use a leather glove every time you move the skillet.
Takeaway
A fresh apple, a skillet, and a little patience—that’s all it takes to create a camp dessert that rivals anything from a home kitchen. Skip the pre-packaged mixes. Let the fruit speak for itself. You’ll wonder why you ever bothered with anything else.
Frequently Asked Questions
Can I use pre-sliced apples for this fresh apple camping recipe?
You can, but fresh whole apples hold up better to campfire heat and release natural juices that create the sauce. Pre-sliced apples often turn mushy. For best texture, core and slice your own at the campsite.
What type of apple works best for campfire skillet apples?
Firm, tart-sweet apples like Granny Smith, Honeycrisp, or Braeburn hold their shape and balance the sugar. Softer varieties like McIntosh can break down too quickly over a campfire.
Do I need a Dutch oven, or will a regular skillet work?
A regular cast iron skillet works perfectly for this fresh apple dessert. A Dutch oven is fine but not necessary. The key is even heat distribution, which cast iron provides. Avoid thin nonstick pans—they can scorch the apples.
How do I keep the apples from burning over an open campfire?
Cook over medium coals, not direct flames. Rake hot coals to the side of the fire and place the skillet on them. Stir every 3-4 minutes. If using a camp stove, keep the flame low to medium.
Can I make this fresh apple dessert ahead of time?
Yes. Cook the apples at home, let cool, and store in a sealed container. Reheat in a skillet over low campfire coals or a camp stove. Add the oat topping just before serving to keep it crunchy.
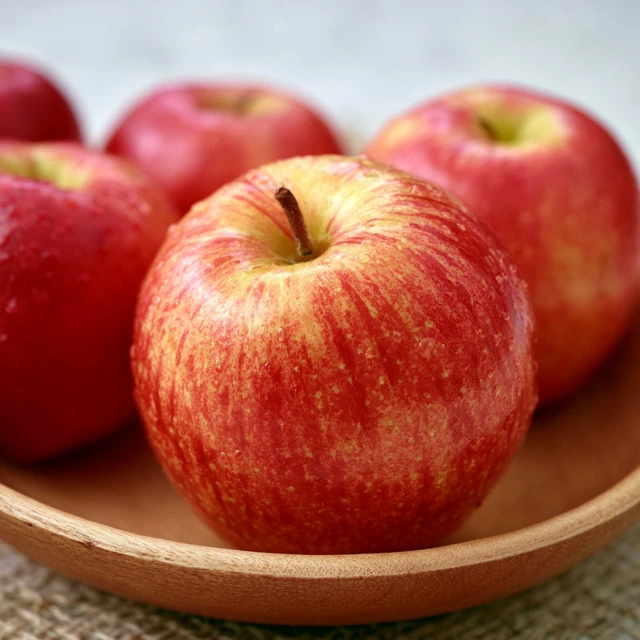
Fresh Apple Camping Dessert: Skillet Cinnamon Apples
Ingredients
Method
- Peel, core, and slice the fresh apples into 1/2-inch wedges. Keep slices uniform for even cooking.
- Place a cast iron skillet over medium campfire coals or a camp stove set to medium heat. Add 3 tablespoons butter and let it melt, swirling to coat the bottom.
- Add the apple slices, brown sugar, cinnamon, and nutmeg (if using). Stir gently to coat. Cook for 8-10 minutes, stirring every 3 minutes, until apples are tender and slightly caramelized.
- While apples cook, prepare the oat crumble: In a small bowl, mix rolled oats and flour. Cut in 2 tablespoons cold butter with your fingers or a fork until the mixture resembles coarse crumbs.
- Sprinkle the oat crumble evenly over the cooked apples. Cover the skillet with a lid or foil and cook for 5 minutes more, until the topping is golden and fragrant.
- Remove from heat. Drizzle with maple syrup if desired. Let cool for 2 minutes before serving. Serve warm, straight from the skillet.
- Store leftovers in a sealed container. Reheat gently in a skillet over low heat.