
There’s something about the deep purple stain of a ripe blackberry that feels like summer captured in a single bite. Out camping, those wild brambles along the edge of the clearing aren’t just scenery—they’re a free meal waiting to happen. But even if your backyard is a patch of cultivated berries, the same principles apply. These two recipes are built for the campsite: one requires only a fire and a skillet, the other needs nothing more than a bowl and a spoon.

Why Blackberries Work So Well at Camp
Blackberries are tough. They don’t bruise as easily as raspberries, and they hold their shape when cooked. That makes them ideal for camping, where you might not have a gentle hand or a perfect cooler. The tartness also means you can get away with less sugar than you’d think—a bonus when you’re packing light.
One thing I’ve learned the hard way: if you’re foraging, pick berries that come off the vine with the slightest tug. If you have to yank, they aren’t ready. And always leave some for the birds and the next campers. It’s common sense, but easy to forget when you see a loaded bush.
Campfire Blackberry Cobbler
This cobbler is about as straightforward as camp cooking gets. It uses a single cast iron skillet and a bed of coals. The trick is to not stir the berries once you’ve added the dough—let it sit and steam. That’s what gives you a tender, biscuit-like top instead of a soggy mess.
Getting the Fire Right
You want a steady, moderate heat. If the coals are too hot, the bottom will burn before the top cooks. I build my fire an hour before I plan to cook, let it burn down to mostly embers, then rake a flat bed of coals. Place the skillet directly on them, and if you have a lid, put a few coals on top for even heat. No lid? A piece of heavy-duty foil domed over the skillet works fine.
The common mistake is peeking too often. Every time you lift the lid, you let out steam. Check once at the 20-minute mark, then decide if it needs more time. You’ll know it’s done when the berries are bubbling thickly and the top is golden brown.
No-Cook Blackberry Jam
This one surprised me the first time I tried it. It’s not a traditional jam—no pectin, no boiling water bath. But it’s a spreadable, intensely flavored paste that keeps for a week in a cooler and tastes incredible on a warm biscuit or a piece of toast.
The Method
Mash two cups of blackberries in a bowl with a fork until they’re broken down but still have some chunks. Stir in a quarter cup of sugar and a teaspoon of lemon juice. Let it sit for 15 minutes. That’s it. The sugar draws out the berry’s natural pectin and thickens it into a loose jam. If you want it thicker, mash in a tablespoon of chia seeds and let it rest for another 10 minutes.
The key here is to use ripe, sweet berries. If they’re too tart, you’ll need more sugar, which makes it runny. Taste before you add the sugar, and adjust accordingly. This jam won’t last as long as a canned version, but it’s perfect for a weekend trip.
Adapting for Weather and Gear
Rainy camping? Cook the cobbler under the vestibule of your tent or a tarp. Just be sure the fire is safely away from any fabric. Windy conditions make coals unpredictable—build a small windbreak with rocks or a log. If you’re using a camp stove instead of a fire, the cobbler works just as well with a lid on medium-low heat. The jam needs no weather adjustment at all.
Safety First
When cooking over a campfire, keep a bucket of water or sand nearby. Make sure the fire is fully extinguished before you leave the site—douse it, stir the ashes, and douse again. For the jam, store any leftovers in a sealed container in the cooler. If it smells off or shows mold, toss it.
And a quick note on foraging: know your berries. Blackberries have a distinctive cluster of small drupelets and a white core. Avoid any berry that looks similar but grows on a vine with thorns that are red or have leaves that are shiny—that could be a different species. When in doubt, leave it out.
A Simple Takeaway
These two recipes show that a handful of blackberries can turn a simple campsite meal into something memorable. The cobbler is comfort food at its most rustic—warm, sweet, and a little messy. The jam is a no-fuss way to capture that berry flavor without any complicated steps. Next time you see a bramble, don’t just walk past it. Stop, pick, and cook.
Frequently Asked Questions
Can I use frozen blackberries for camping recipes?
Absolutely. Frozen blackberries work well for cobbler and jam. Thaw them first to release juices, and adjust sugar slightly if they are tart. Keep them in a cooler with ice packs for up to three days.
How do I keep blackberries fresh while tent camping?
Store them in a breathable container in the cooler, not in a sealed bag. Lay a paper towel on the bottom to absorb moisture. Check daily and remove any moldy berries to prevent spoilage.
What if I don’t have a campfire for cooking?
Use a camp stove. For the cobbler, you can bake it in a Dutch oven with coals on top and bottom. For the jam, a small propane stove works fine for the stovetop method.
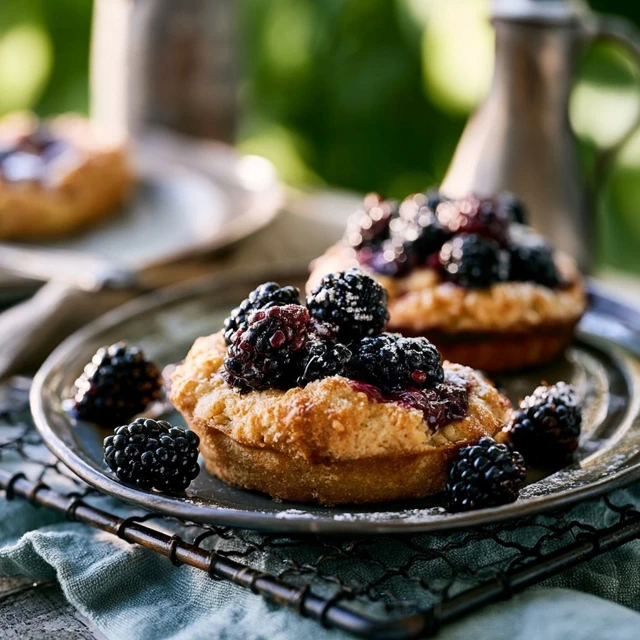
Backyard Blackberry Recipes for Camping: Wild Flavors at Your Table
Ingredients
Method
- Light a campfire and let it burn down to a bed of hot coals. Alternatively, set up a camp stove with a cast iron skillet.
- In a large bowl, gently toss the blackberries with 1/4 cup of the sugar and the cornstarch. Let sit for 10 minutes to release juices.
- In another bowl, whisk together the flour, remaining 1/2 cup sugar, baking powder, and salt. Cut in the cold butter using your fingers or a fork until the mixture resembles coarse crumbs. Stir in the milk just until a soft dough forms.
- Pour the blackberry mixture into a well-greased 10-inch cast iron skillet. Drop spoonfuls of the dough over the berries, leaving some gaps for the filling to bubble through.
- Place the skillet over the campfire coals or on a camp stove grate over medium heat. Cover with a lid or foil and cook for 25–30 minutes, rotating the skillet halfway through, until the topping is golden and the berries are bubbling.
- Remove from heat, let cool for 5 minutes, then serve warm. Drizzle with cream or a scoop of vanilla ice cream if you have it.